

This tutorial will guide you through how to create an email account in cPanel. Whether you're a beginner or an experienced user, cPanel provides a user-friendly interface that makes it easy to manage your email accounts. Follow the step-by-step instructions below to set up your email account in cPanel hassle-free.
Log in to your cPanel account using your username and password. You can access cPanel by typing "yourdomain.com/cpanel" in your web browser's address bar.

Enter your cPanel username and password on the following screen.

Once logged in, use the search bar to find the "Email" section. Type “email accounts” in the search and click on the first result.

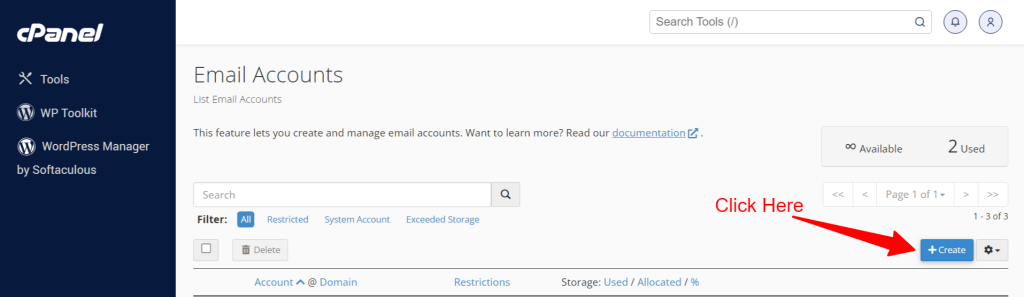
On the "Email Accounts" page, click on the “Create” button.
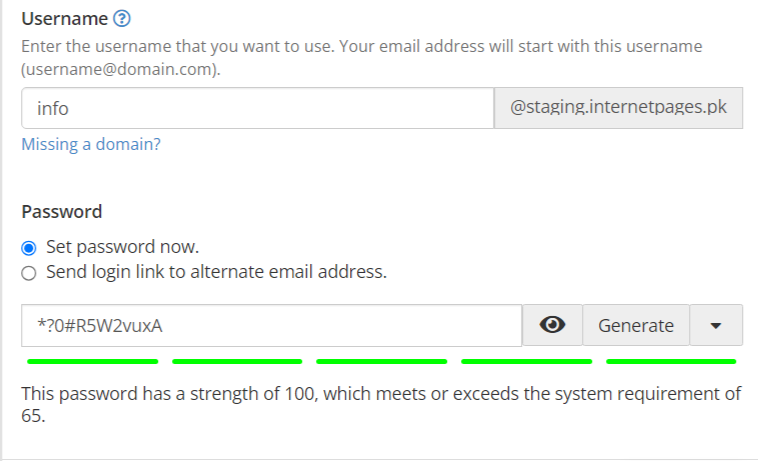
On the next page, Select the domain you want to create the email account from the drop-down menu, if you have multiple domains in your cPanel account. Otherwise your primary domain will automatically

Enter the desired email address in the "Email" field. For example, if you want the email address to be "[email protected]," type "info" in this field.
Choose a strong password for your email account. You can either use the password generator or create your own. Make sure to use a combination of uppercase and lowercase letters, numbers, and symbols for better security.
Set the mailbox quota if needed. To set the mailbox quota click on the “Edit Settings” button. This determines the maximum amount of disk space the email account can use. You can set it to unlimited or specify a custom limit.
Once you have entered all the required information, click the "Create" button. cPanel will create your email account, and you'll see a confirmation message. The new email account will now be listed under the "Email Accounts" section.
Congratulations! You have successfully created an email account in cPanel. You can now start using this email address to send and receive emails. Make sure to configure your preferred email client or access webmail to manage your emails.


 (041) 5387010UAN 03-111-104-777